How I painted my Spanish village
A quick run-through of how I painted my recent purchase from Battle Honours
WAR ROOM CHAT
Keith Dragon
4/20/20242 min read
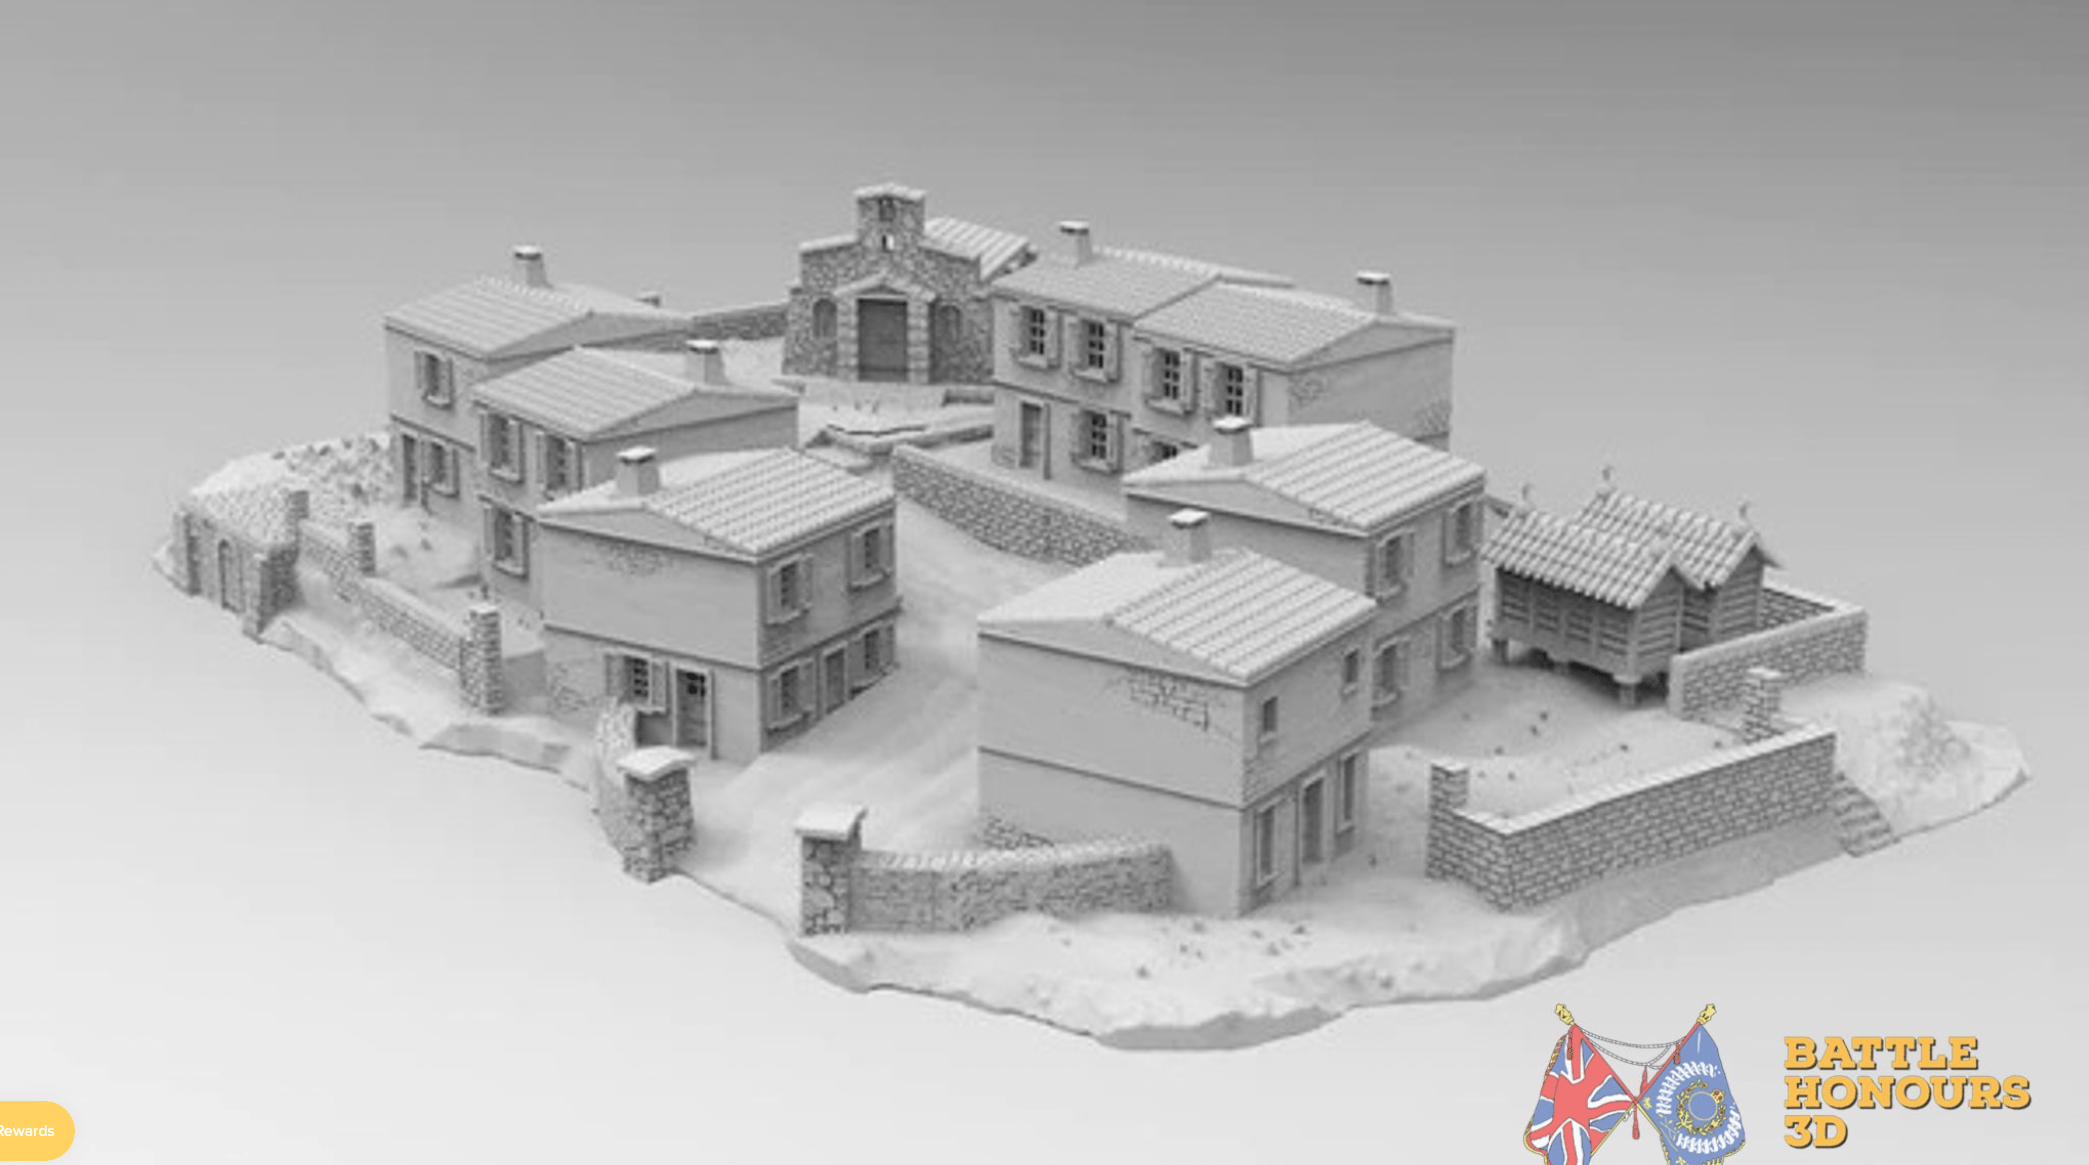
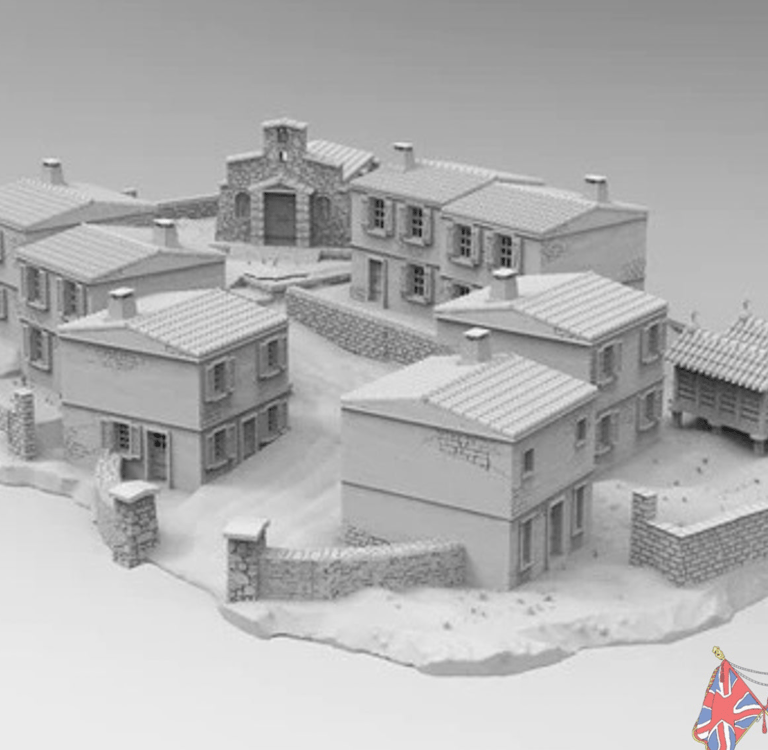
Excitedly diving into the Peninsular Village kit that recently arrived at my doorstep has been an absolute joy! Having already collected a few of the buildings, I was fortunate enough that Michael, the supplier, accommodated my request and provided the base separately. Upon examining the intricate details and the stunning three-dimensional perspective of the pieces, I was thoroughly impressed.
Let me walk you through the process with some accompanying photos:
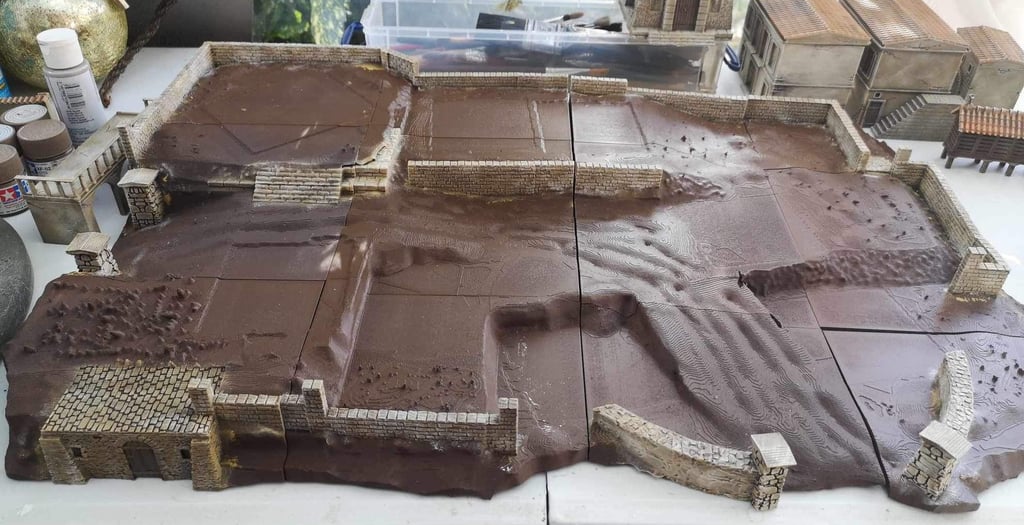
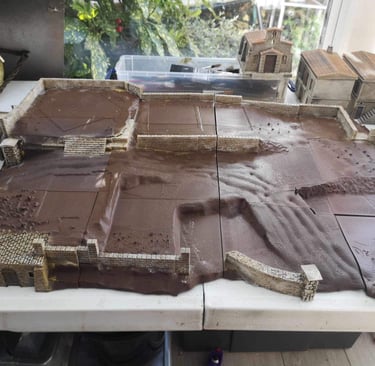
Photo 1. captures the initial step of priming the terrain with a rich dark brown hue, setting the stage for the immersive landscape to come.
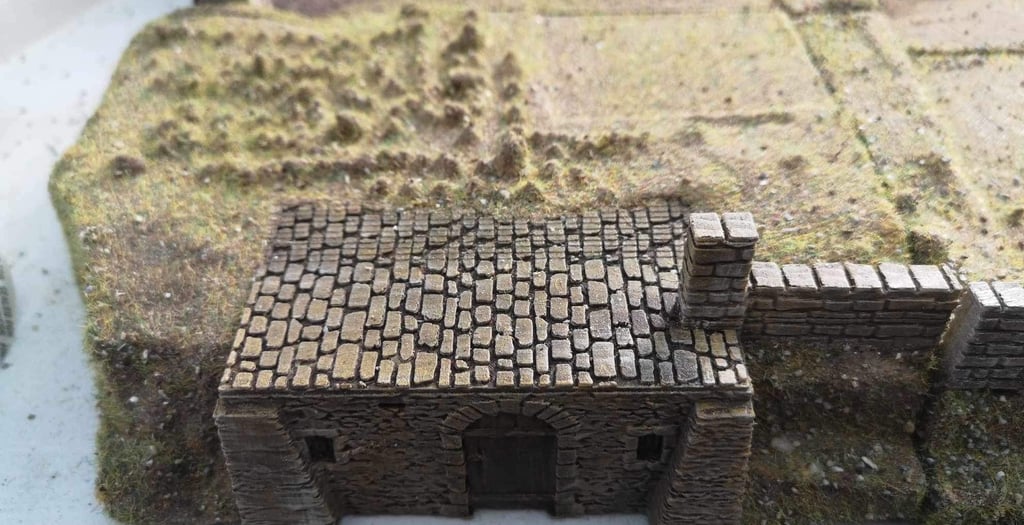
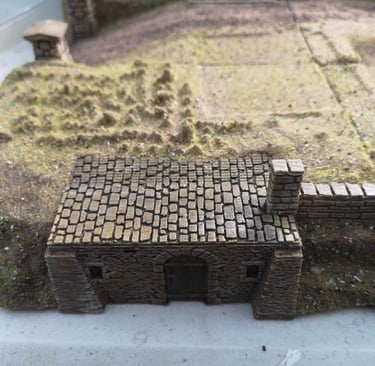
Moving on to Photo 2, I meticulously dry brushed the walls and steps using Daler Rowney Yellow Ochre, adding depth and character to these architectural features.
In Photo 3, I continued to build upon the realism by dry brushing with Vallejo 837 Pale Sand, enhancing the texture and highlighting the finer details of the structures.
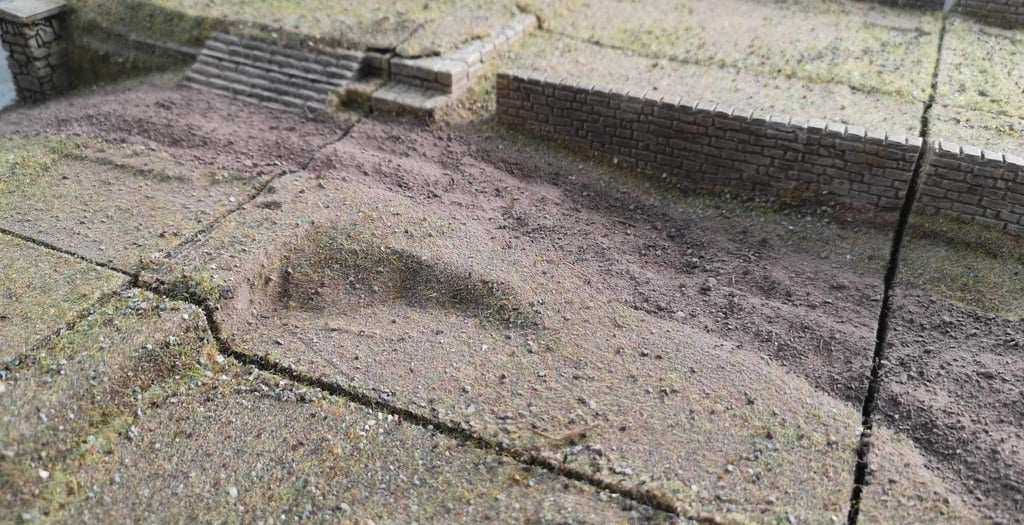
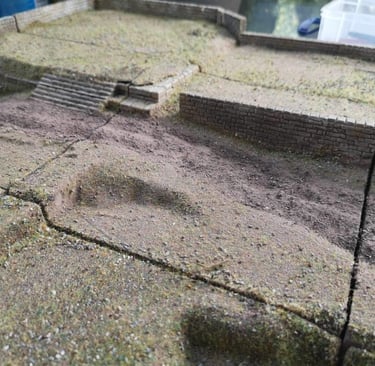
Photo 4 illustrates, having applied PVA glue, serving as the adhesive canvas for a scattering of sand, flock, and bird grit across the terrain, excluding the walls and road.
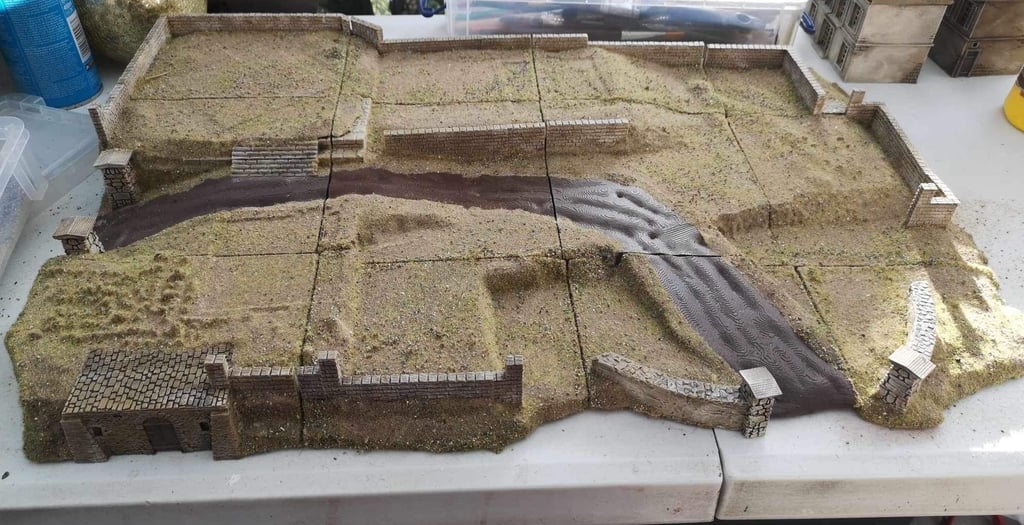
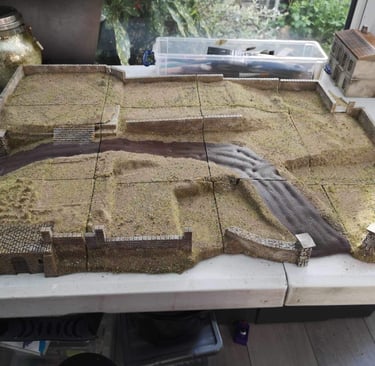
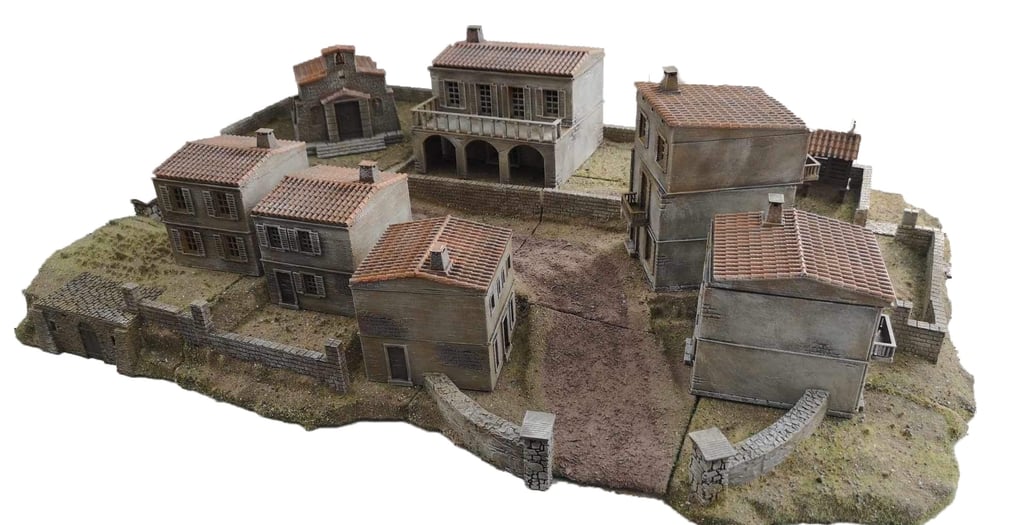
Photo 5. Cover road surface with dirt mix (I get soil from my garden, bake it in oven until completely dry of any moisture, put it in carrier bag and then give it a good hammering with a rolling pin). Sprinkle onto a PVA prepared road surface. Seal whole surface with PVA/water in spray bottle. Add veg and buildings to suit